"Quality takes time"
(WHERE TO START? AND HOW?)
Now that you have finished with the basic prep work for your models, it’s time to head straight into the fun part. Painting!
Depending on the design or mold of the model/minis themselves, first identify which part is which in your minis. Where are its faces? Where are its limbs and body parts? What counts as cloth or clothing in some of the areas? Which parts are a part of which? This should help you identify what parts need to be painted differently than the others and prevent you from frequently making “Happy little Accidents”
After identifying the parts of the mini let’s start with the basic part to paint. The skin tones. As these are the parts that are mostly identifiable in the human body. It should deal with the basic structure of what the model should look like in the end, and it may help with coming up with further ideas for your design. Once you are able to identify where the basic skin tones are, then things should be much clearer as to how you want to design your minis.
(In some cases for minis like Warhammer minis, they tend to hide the skin tones much more frequently. In this scenario try to identify what parts are more visible to the eye and start your coloring from there.)
Start mixing the canister of paint of the color of your choice that you have and applying that preferred color of choice for the skin parts on to your color palette. A single droplet should be enough and simply apply some paint on to your brush (MAKE SURE THAT THE BRUSH IS ALWAYS WET BEFORE APPLYING PAINT ONTO IT) and drag it on to the surface of your color palette.
Now before you start applying it onto your model, there is something you should know before continuing. There is a level of paint consistency that every beginner should be aware of. When you apply a coat of paint onto your minis it often looks like it is way too thick during application. That is because the paint substance inside hasn’t been mixed well inside the canister due to product consistency and preservations. This is where the aspect of shaking the paint canister first before applying it onto the color palette is VERY important. It’s to reduce the thickness of the paint ,and the surface of it, from sticking inside and drying out and to keep it flowing naturally when it is being used.
But, there’s one more step that you can take to learn how to practice before starting. A method to make your paints perfectly evenly applied onto your minis.
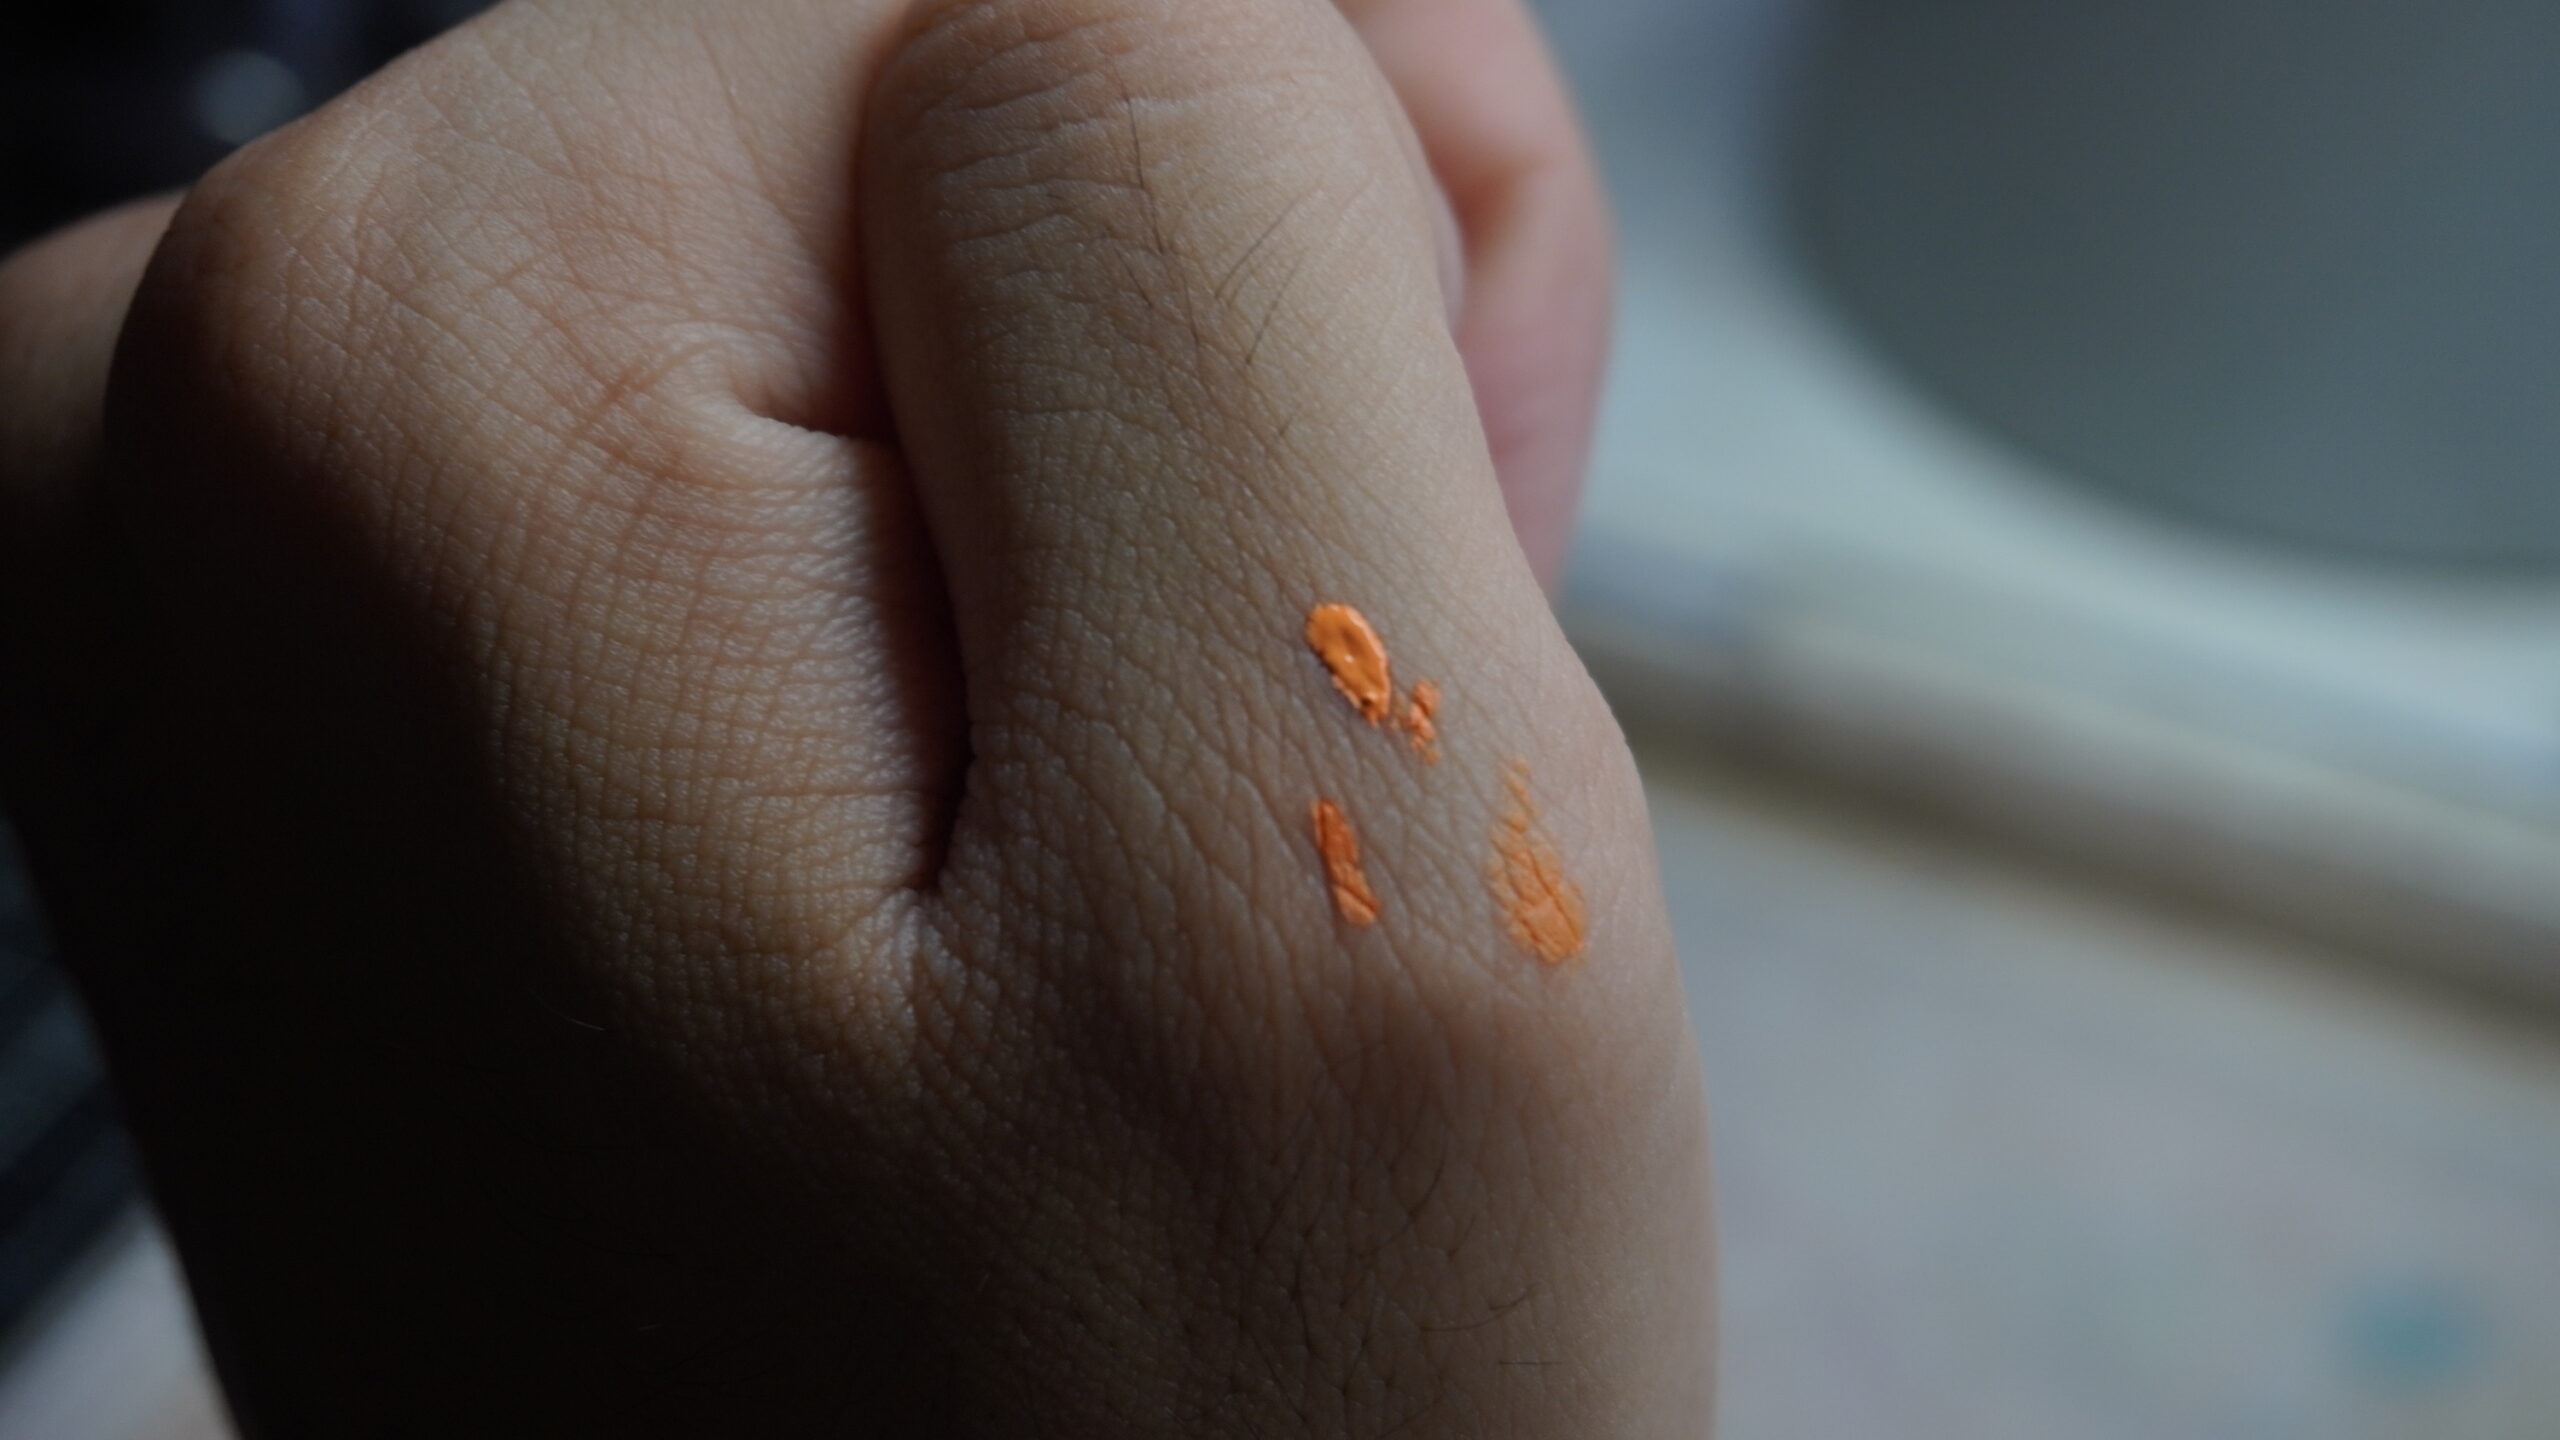
- THINNING YOUR PAINTS: In order to keep it a perfect level of consistency of paint onto your minis you need to somehow reduce the thickness of your paints. How? By adding water. Water helps dissipate the substances in the paints and makes its application less and less effective. Reducing its thickness. But we don’t ruin our paints. This is where we want to ratio our mixture of both paint and water. Start by adding a tiny bit of water onto the dragged out droplet of paint that is on the surface of your color palette and mix them together. Once you’re done mixing try applying it on to the skin of your hand. If the paint is covering the texture of your skin, then it means it’s still too thick. In this case try adding a bit more water. However, if it’s not covering anything at all, and now it is only droplets of paint water, then it means it is too thin. Try adding a bit more paint onto the mixture. Keep this method going until you see the paint applied on your skin while also seeing the texture of your skin as well. If you have that type of consistency. Congratulations! You just got the right consistency of paint for your minis.
Once you’re done figuring out the right consistency of your paints, then you simply start painting your miniature. (Note: Make sure to follow the consistency step for all applications of color for the next few parts of your design.) Once you’re done, proceed to the next lesson.