"If you fail to plan, you plan to fail."
Prep work
DISCLAIMER: Each minifigure is different and not every minifigure can be painted the same way. Most of the time minifigures are made out of plastic. And are meant to be painted by specific types of acrylic or lacquer based applications. However, some products are made entirely out of rubber material that can be very difficult when it comes to applying plastic based paint onto them. Due to the chances of letting the paint easily be scraped off from the minis themselves. Please know more about the product you are working with before starting on a project such as that.
First, let’s work on what to prepare before starting your first “mini” project.
1. PREPARE ALL THE MATERIALS REQUIRED:
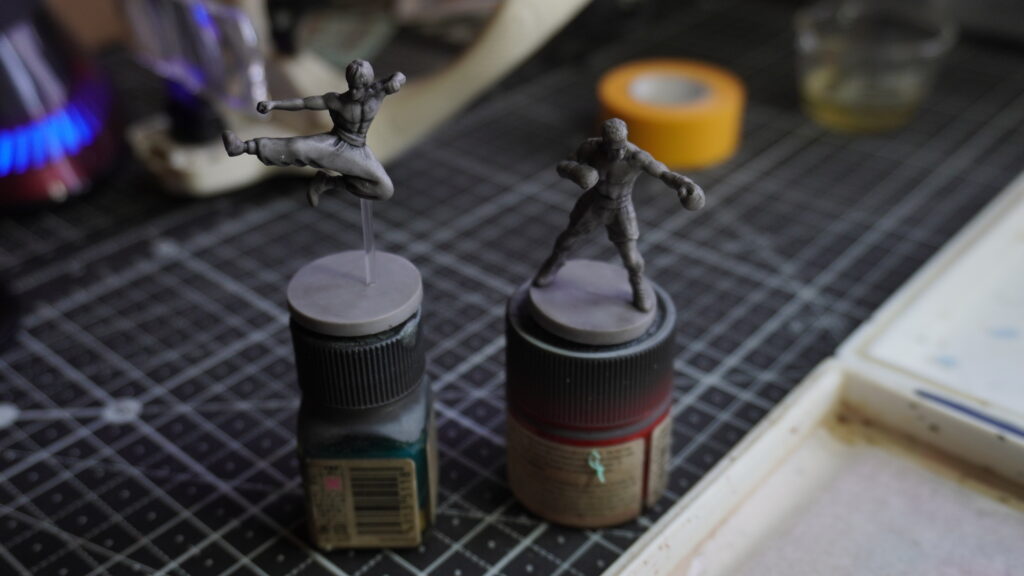
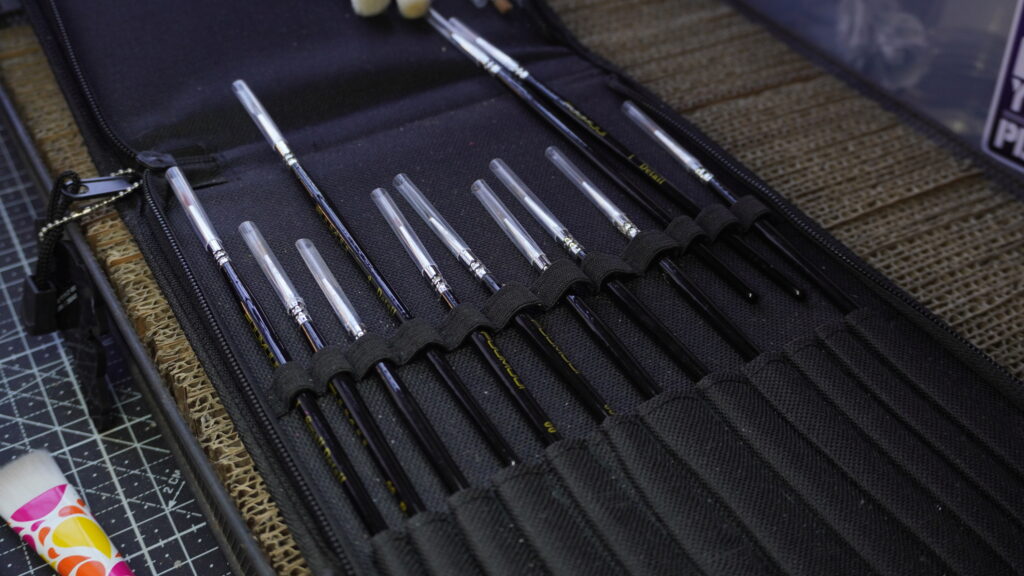
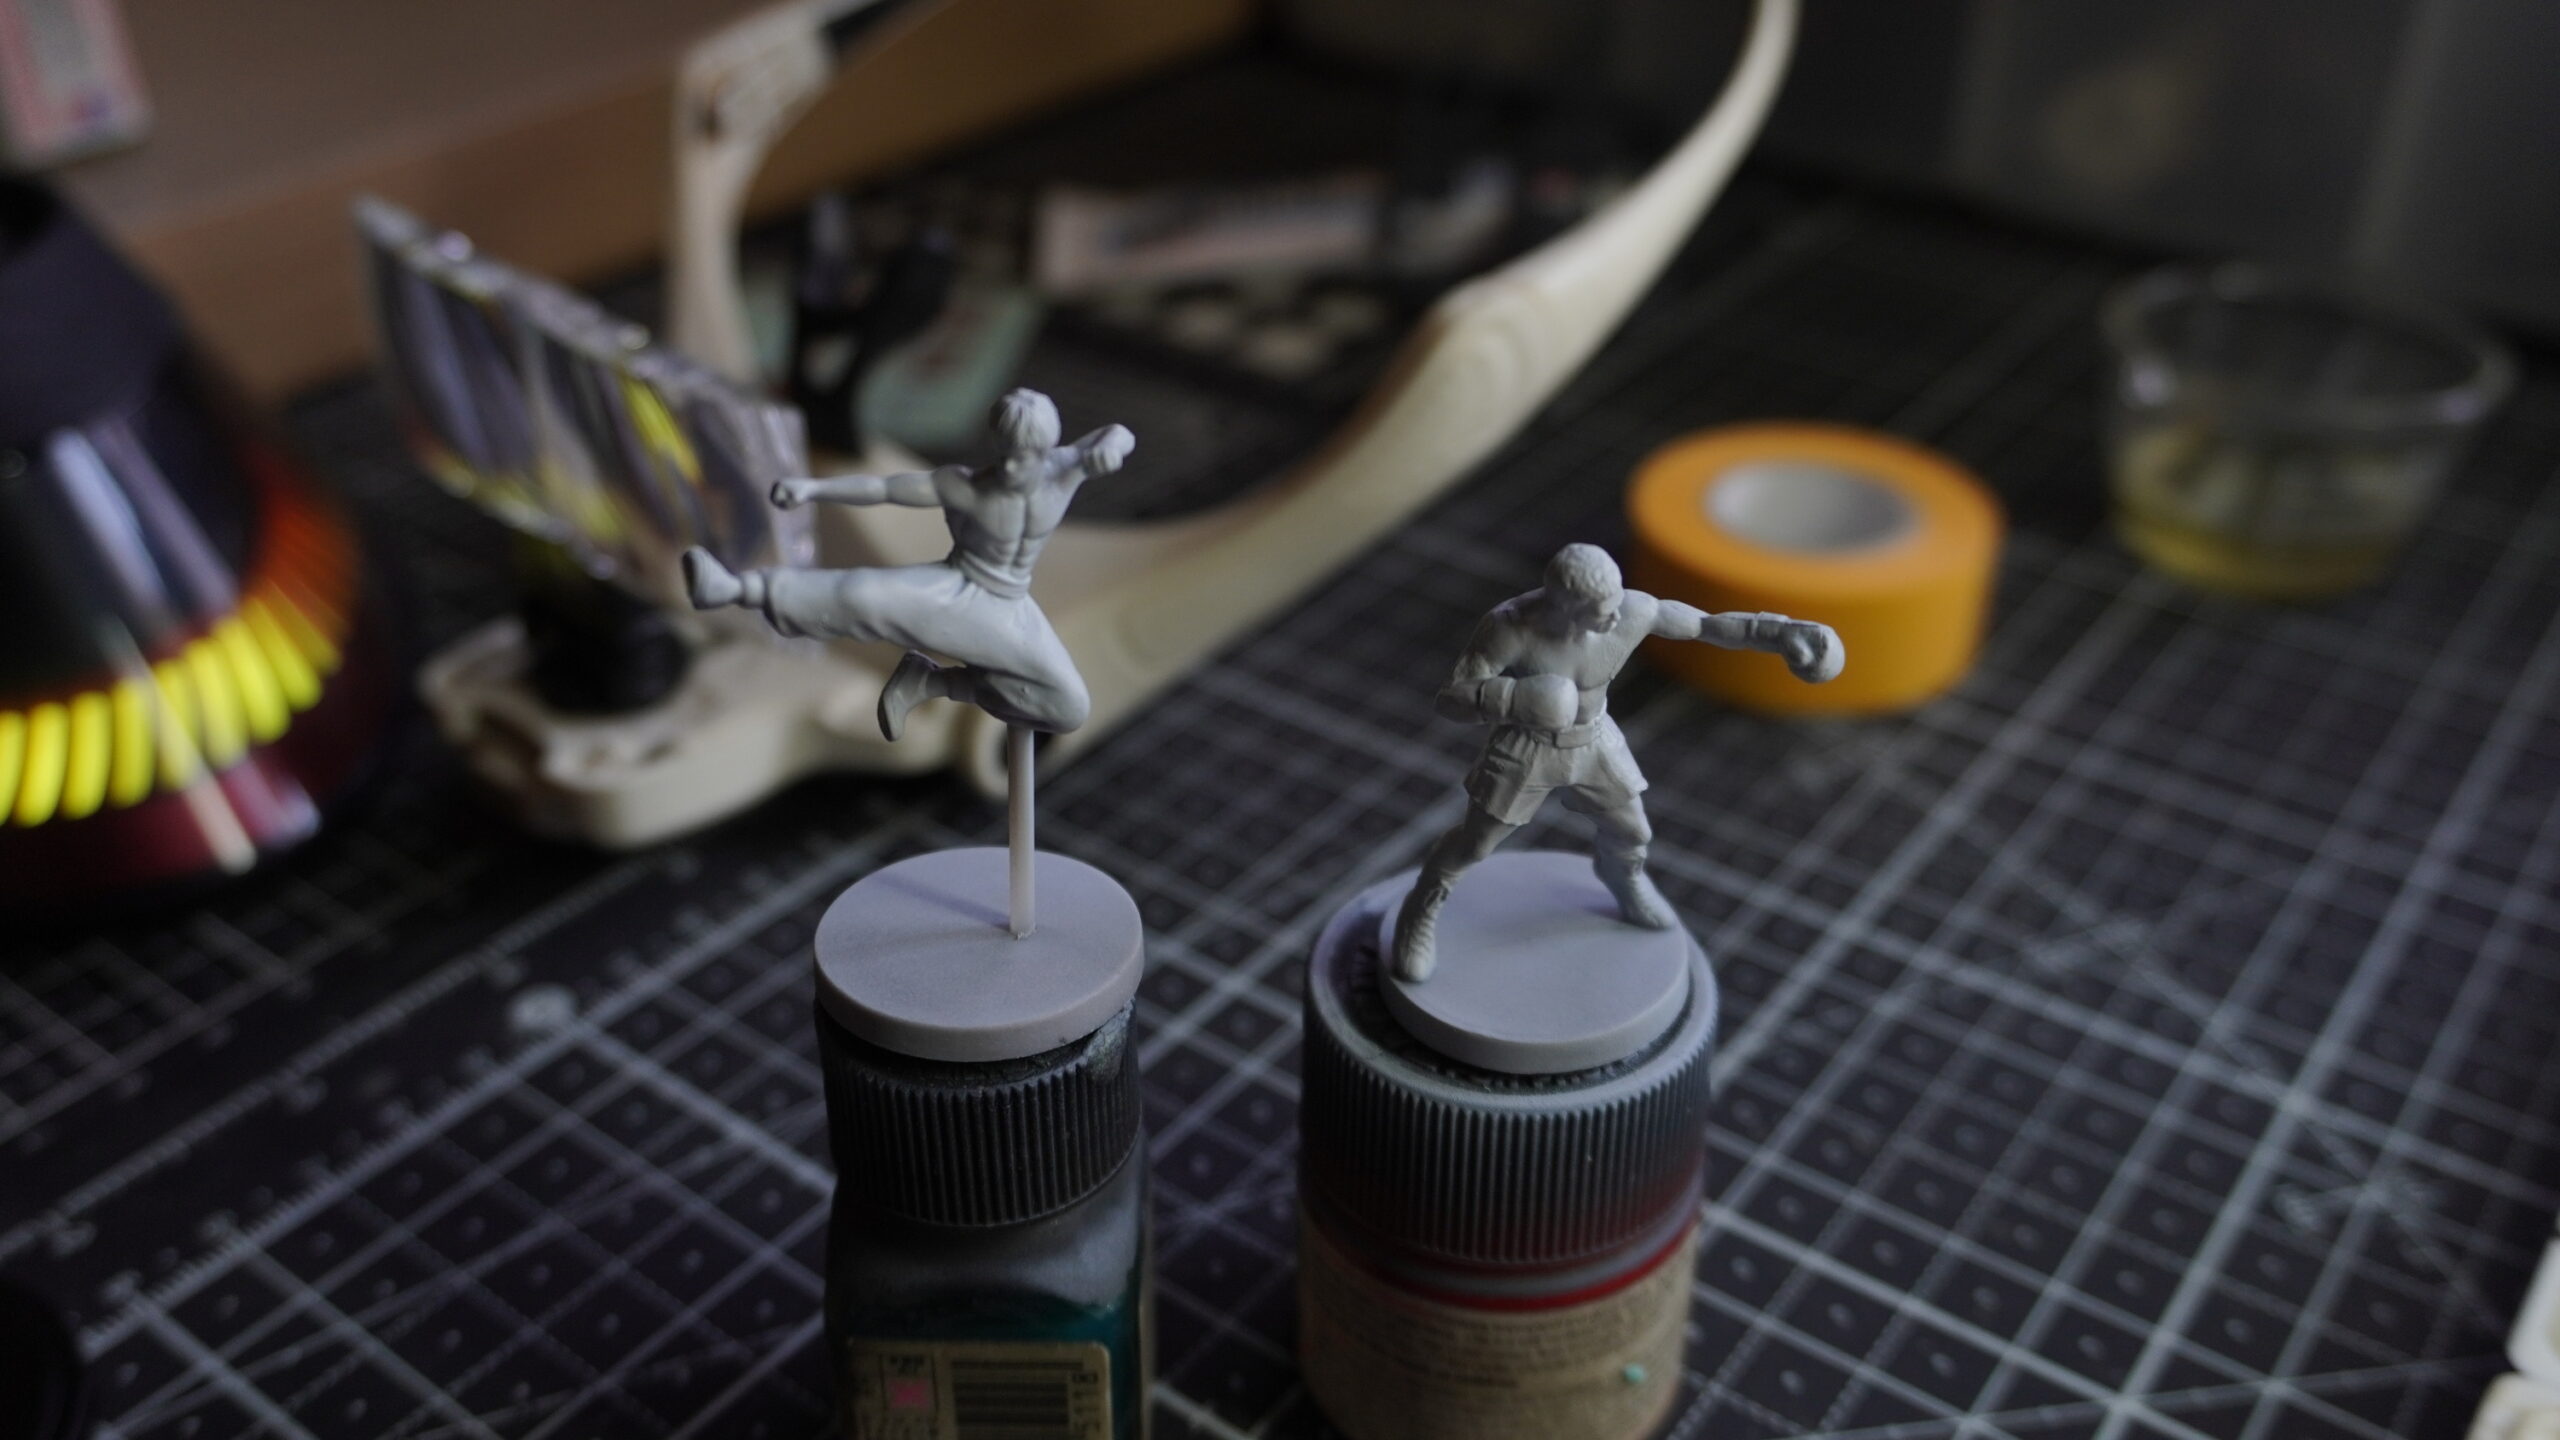
2. BRUSHES: Kindly set up your preferred brushes, preferably 0-2 sized brushes, or whatever you are most comfortable working with. Just make sure that the stencils on the brushes are small enough in order for the paint to be applied properly. provide a stand for your miniature to be placed on in order for you to be able to work on it. Preferably something small and tiny like a glass canister or a used nail polish bottle. Just something you are able to hold on to while you paint your miniature on top of it
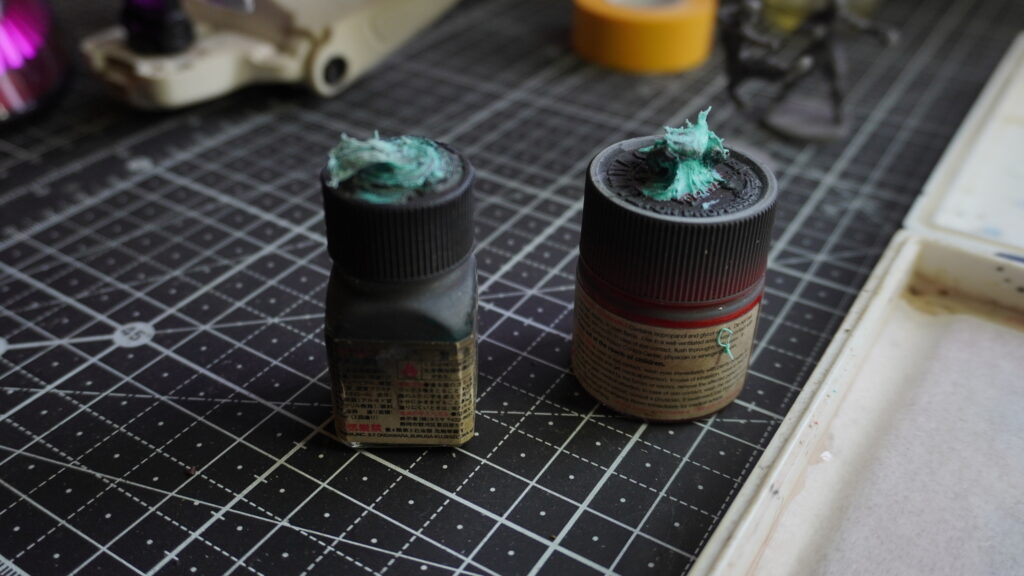
3. COLOR PALETTES (WET PALETTES): Provide a color palette of your choice. However, in the community of minifigure painting there is a method as to which has now become an essential part of painting minis. This is known as a wet palette. They are what will make your work much more efficient and improve the quality of work in your project. Click on the tab below as to what these are and how to make them
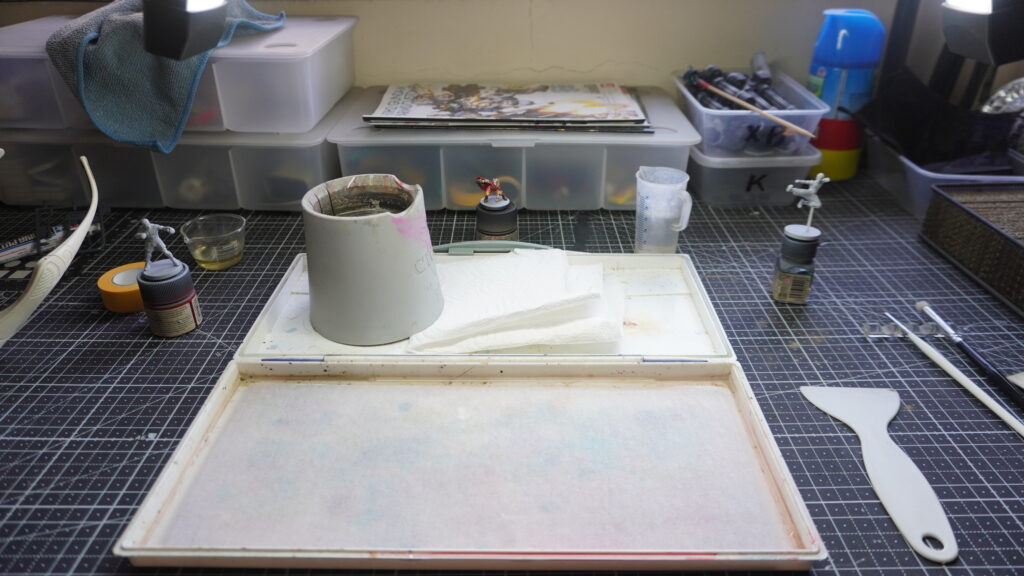
4. WATER: Just like all painting mediums, prepare a full cup of water to be used to wash your brushes.
5. MINIATURE STANDS: Provide a stand for your miniature to be placed on in order for you to be able to work on it. Preferably something small and tiny like a glass canister or a used nail polish bottle. Just something you are able to hold on to while you paint your miniature on top of it.
6. PRIMERS: Before you want to apply the colors that you want for your minis. You need to follow a process that requires you apply a coat of paint on your minis first. This process is known as PRIMERS. Primers are what’s gonna help the overall output of your miniature’s design. Primers are what help your paints stick to the model itself. Making sure that the coat of paint stays there for a long time. Not only that, it is what also helps with the overall tone of the paint after everything is complete. Why is that important you may ask? Well, the basic color of primers you should have are white, grey, and black. All three affect the overall presentation and output of the paint you are applying. This will obviously depend on the overall aesthetic of your design. But to be safe for beginners, grey primers are the way to go. They are the perfect middle ground of the tone and value of the colors you would be applying to your minis.
7. REFERENCES: Just an additional tip for you beginners. You are free to design the models however you wish. And it’s perfectly fine to copy straight from the reference box and design them as to how they were intended. But if you want to be more creative and expressive of your work. Then I recommend exploring some references on the idea of what you want your designs to look like. If this is based on a particular fictional world or franchise. Try to go even deeper and explore the lore of what the characters represent and base off your design after that. It is an art form afterall, express as much as you want for it.