"Quality takes time"
(BASIC COLORING)
Now that you have learned what to do first let’s start by picking the color pattern for your miniature. Again, you have the freedom to choose whatever color you want for your mini. It is your character to make. What color fits and what doesn’t. Feel free to look up references if there is a specific vibe that you want to convey with your own character.
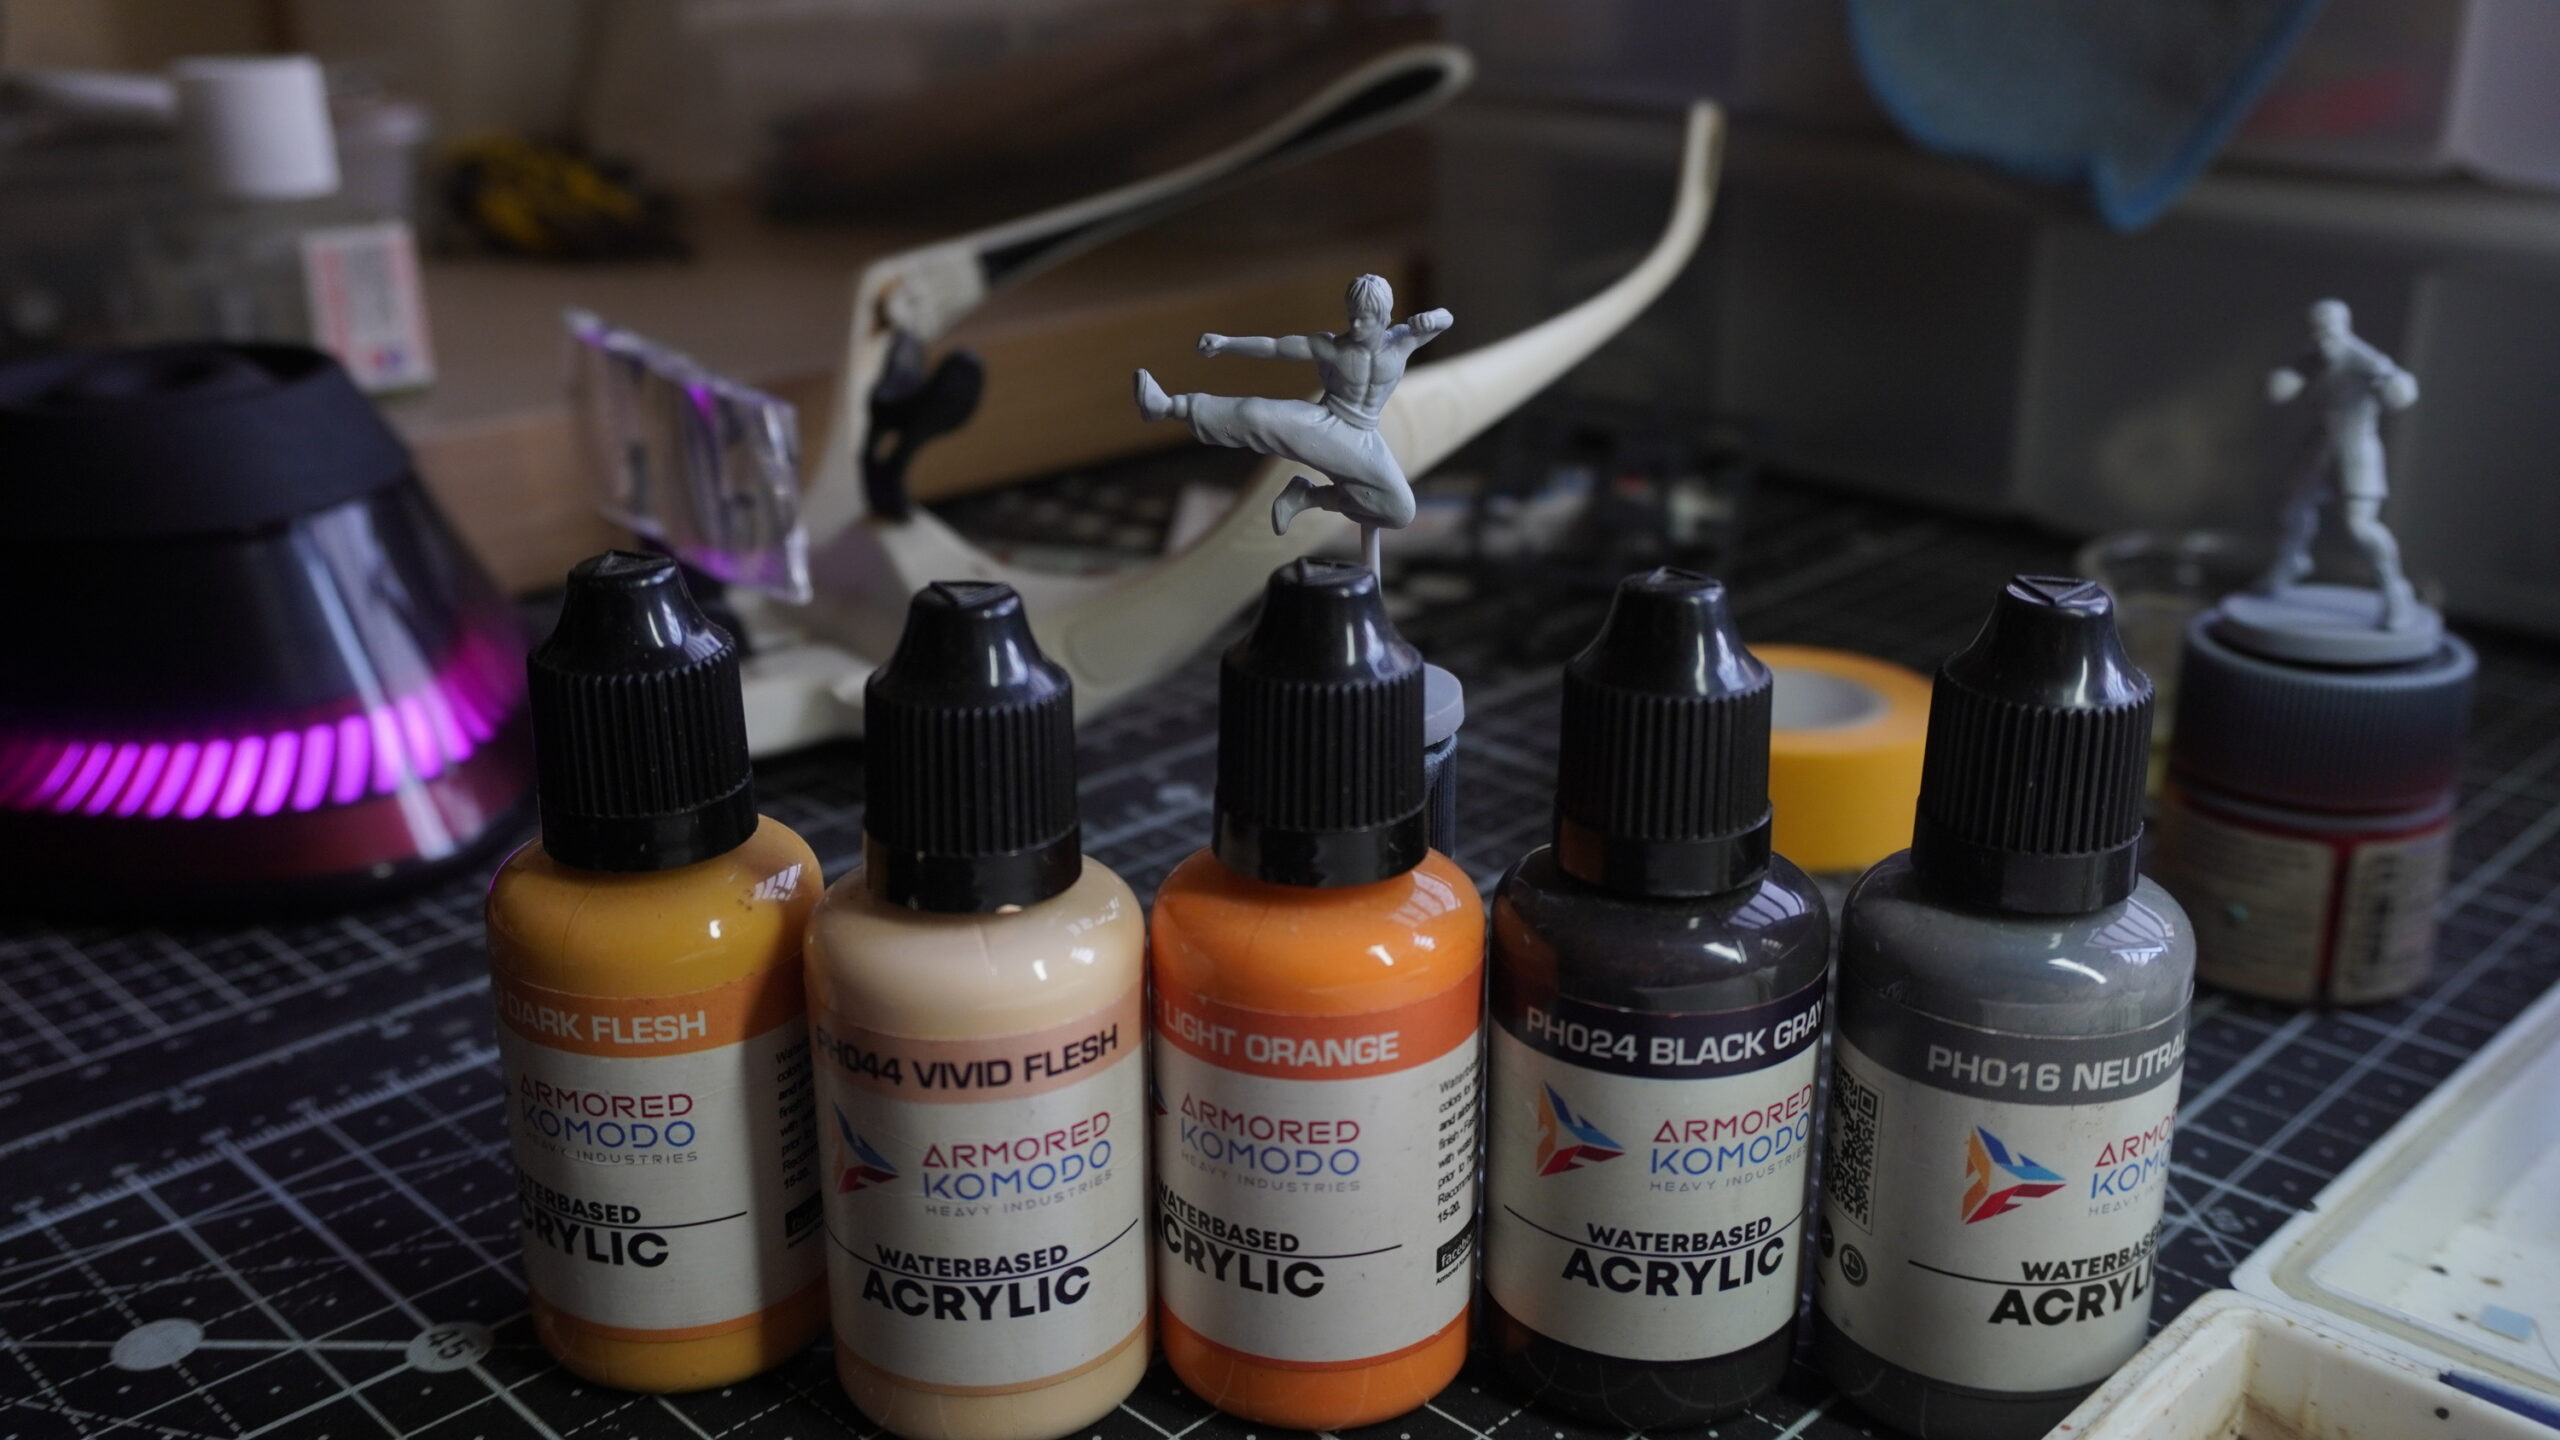
For my example I have a miniature version of the famous action star, Bruce Lee. And I will be using him as my example throughout the other lessons. As you can see from the image above I have chosen particular shades of orange and yellow as these are the colors that I want to use for his skintone. At best you want to gather up some colors that are a different shade of the main color that you are going to be using. My main color right here is orange. so I decided to gather up other shades of the color orange as well as colors that are analogous to itself in the color wheel. (Analogous colors are colors that are beside each other in the color wheel. For example Red, orange, yellow. Or green, blue, purple.)
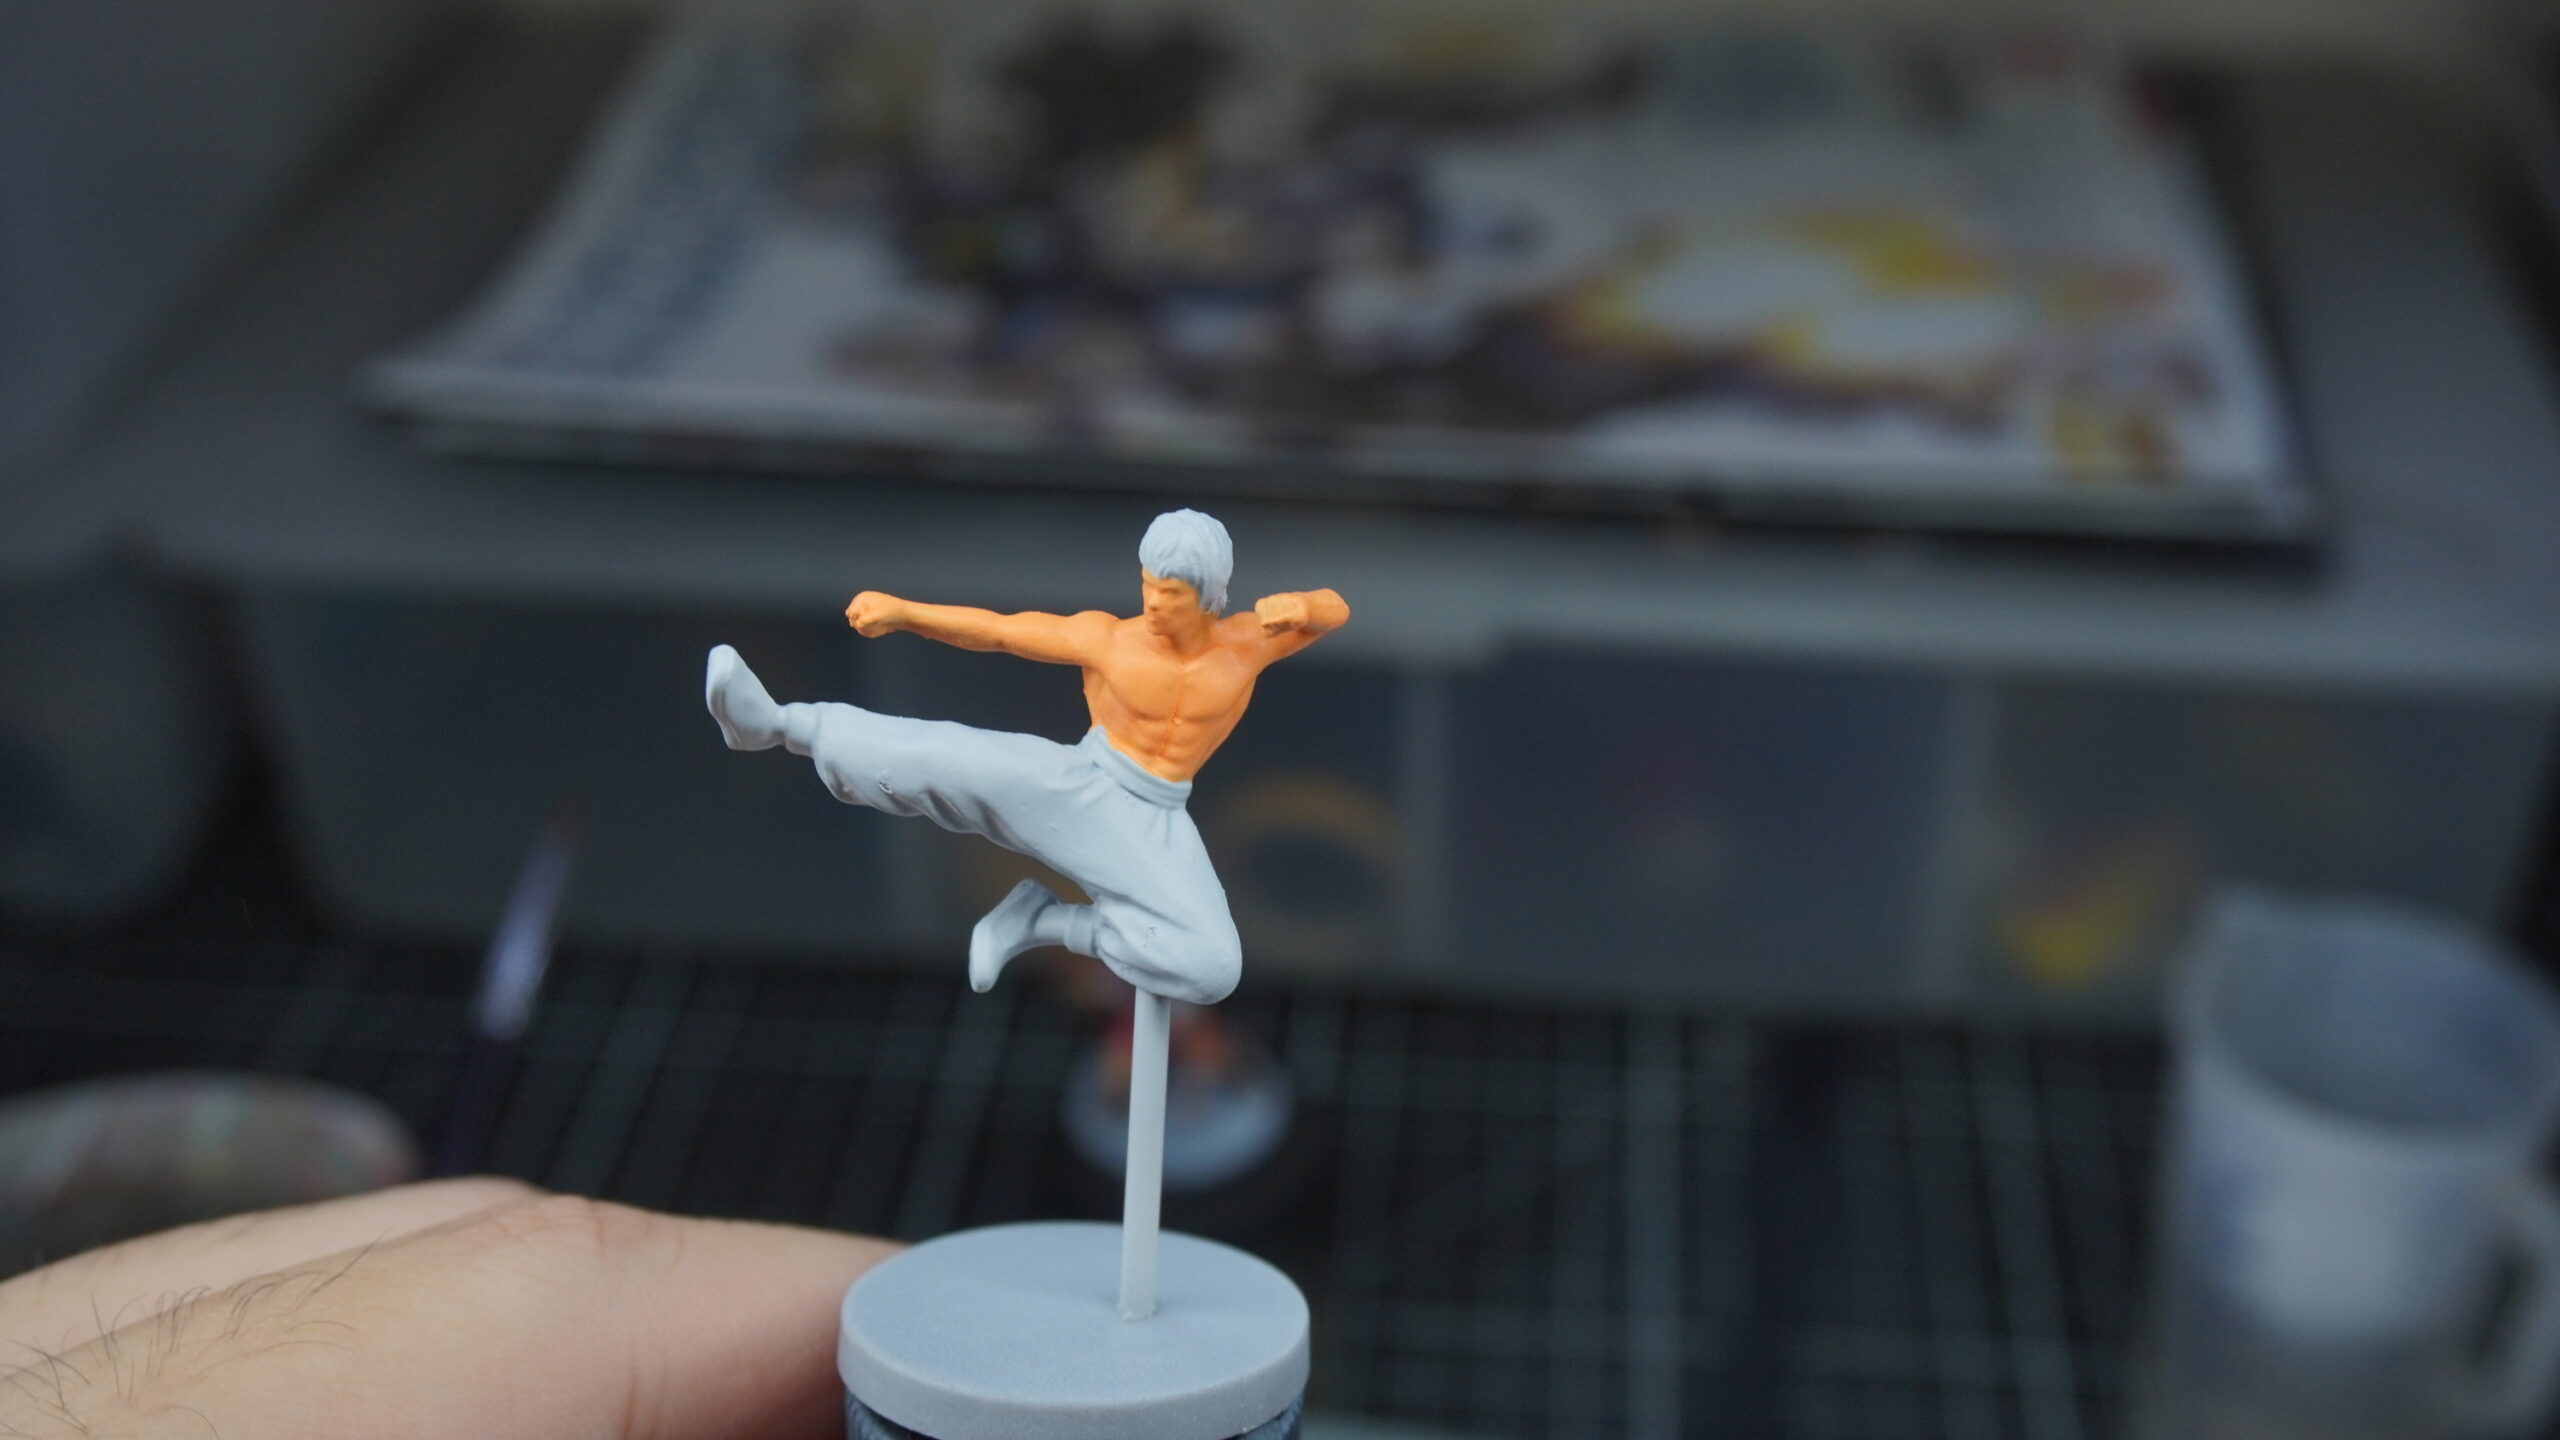
Once you have chosen the particular colors that you want to apply to your character, let’s start painting the skin first. As it should help start a basis of how the character looks in the end. It is recommended to use the darker shade first as it will be important in a different lesson later on in the advanced section. But if you think you are not ready for that just yet, it’s fine. You can simply apply your main color on it. Remember the technique that I showed you during the previous lesson. Make sure when you’re applying your paint it must be the right consistency. Not too thick, not too thin.
Once you are done applying it on the skin the next thing you want to apply paint to is the other parts of the mini. The clothing, the props that stand out like backpacks and such, and especially hair. and from time to time look at your miniature as a whole to see how it looks. Leave the smaller and detailed parts for the end.
Depending on what your miniature requires there should be other parts that stand out within their initial design. Like belts that require shinier paints or tiny props attached to them. This is the reason why you should make those parts last as if you ever get into the mistake of painting the wrong parts of the miniature. You can just simply paint over them and deal with them later on once you think you are ready to paint them.
And don’t be afraid to make mistakes either. You can simply paint over those parts again when the paint dries.
- Tip: To help your work process much faster you can use a regular hairdryer to help the drying process of the paint much quicker. Do not worry, the paint won’t fly off.
- Tip: If you want to handle the smaller parts of the miniature, it’s best to have a good steady hand. What I like to do is use the palm of my hands to hold the minis steady while I move the brush with my fingers. And for even smaller parts you can do the technique of just gently tapping the part with the tip of your brush.
Once you are then congratulations! you may proceed to the next lesson.